I figured I should try to finish this thread, as much work as I put into it way back when...
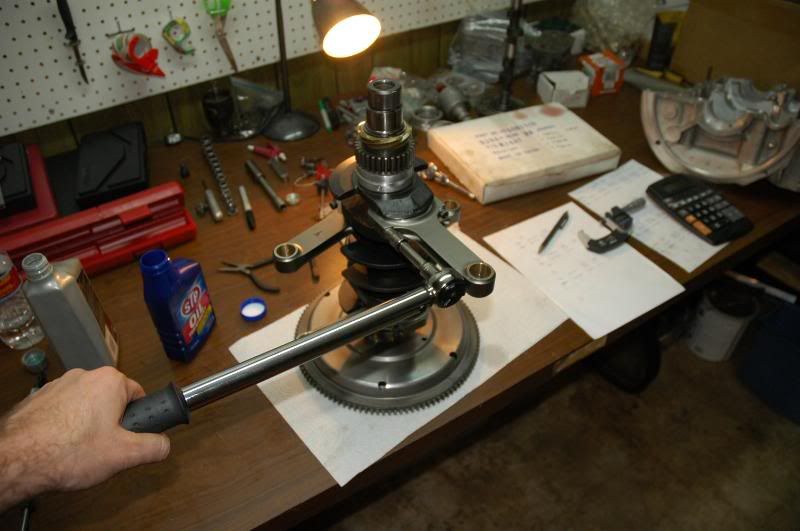
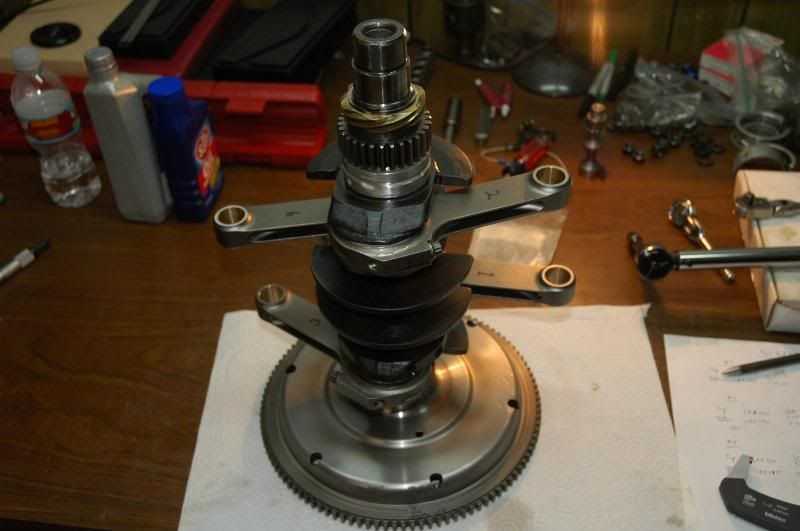
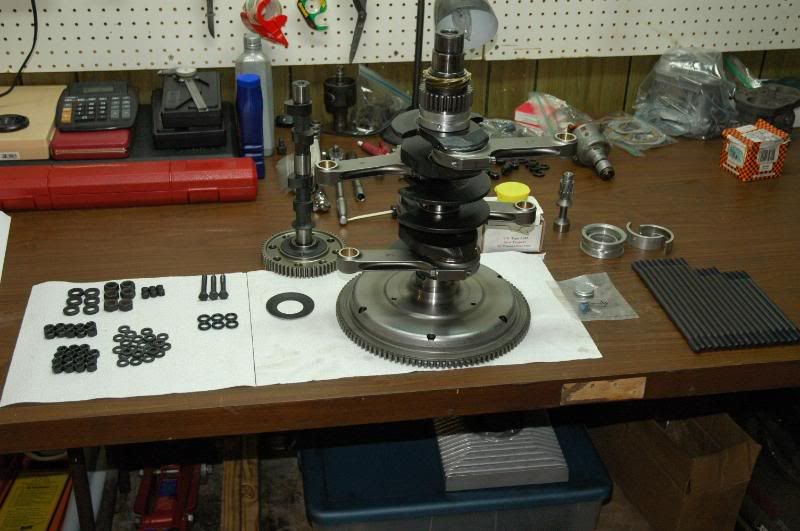
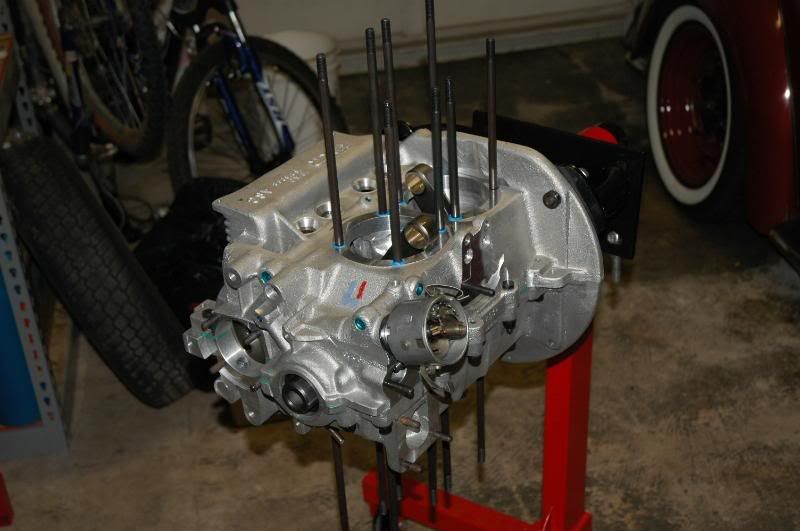
Anyway, when last we left off, the short block was about to go together. Like I said before, lay everything out in front of you and go through the assembly process in your head a couple times to make sure you aren't forgetting anything. Don't forget the cam plug or the o-rings on the main studs, or the big beveled washer and woodruff key that go on the crank. If you have any mains that are shuffle-pined then those don't get an o-ring. My case has the center mains shuffle-pined, so none there. As for sealing the case halves, Curl-t seems to work well and is easy to clean off if you need to take it apart again later. Permatex Aviation also works well, that's what Darren at DRD uses, and it cleans off pretty easily too with a little acetone. So once you have the lifters, cam, cam plug, crank-rod assembly, and distributor drive all in place with their respective bearings, everything lined up (as described in previous post), and your case sealant of choice painted on (a THIN coat!), then you are ready to lower on the other case half. Don't forget to put the half of bearing #2 and the lifters into the second case half! Carefully lower the case half into place down the main studs until it comes into contact with the other case half. The two case halves should touch or come *really* close to touching with very little effort. If they don't, then start checking to see if something is interfering. If they do go together then put on the 6 big stud washers with some RTV or other sealant on their bottoms (toward the case) and then the nuts. Snug down the 6 nuts in a criss-cross pattern, but not too tight! Verify that the case halves are touching all the way around. Now check that the crank will still spin! If it won't, chances are you pinched a bearing of something else is bound up in there. Stop immediately is the crank won't turn freely. Now put the two washers and nuts on the front (flywheel side) of the case that are on the two long cam studs with sealant on the washers. torque them down. Now bring up the 6 main studs (criss-cross pattern) to maybe 10 or so ft-lbs. Make sure that crank will still spin. It it will at this point you should be home free! Bring them up to their final torque in increments of about 5 ft-lbs or so. Now finish off all the small studs and screws in the case and torque them down. check one last time that the crank still spins.
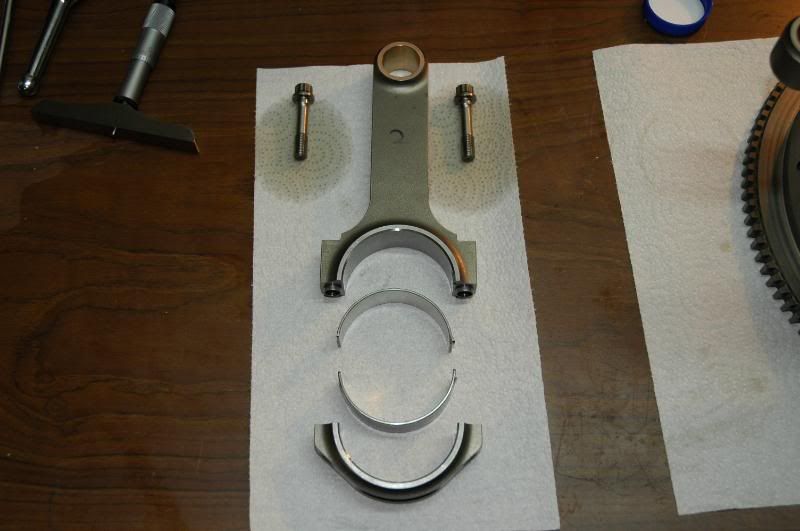
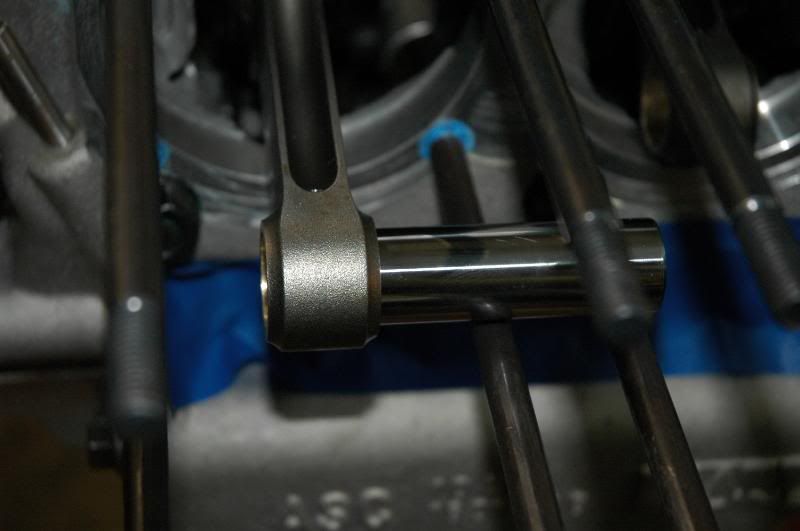
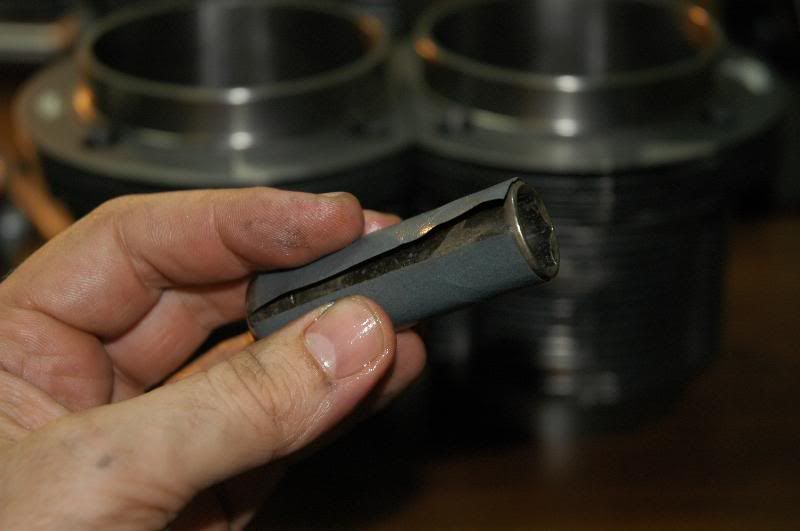
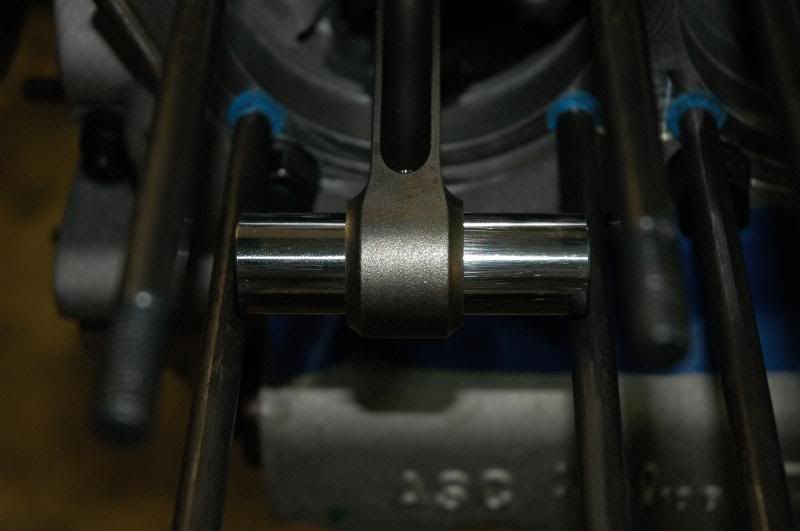
Time to start preparing for the long block. Check the fit of the wrist-pins in the rods. Mine were too tight, so I opened up the rods a little by hand. I use a little piece of sand paper (maybe like 200-something grit) warped around a deep socket that just allows it to fit in the rod. Hose is off with WD-40 and then slowly work the rod, trying to remove material as uniformly as possible, and checking for fitment frequently:
won't fit:
sand paper on a deep socket
take your time...
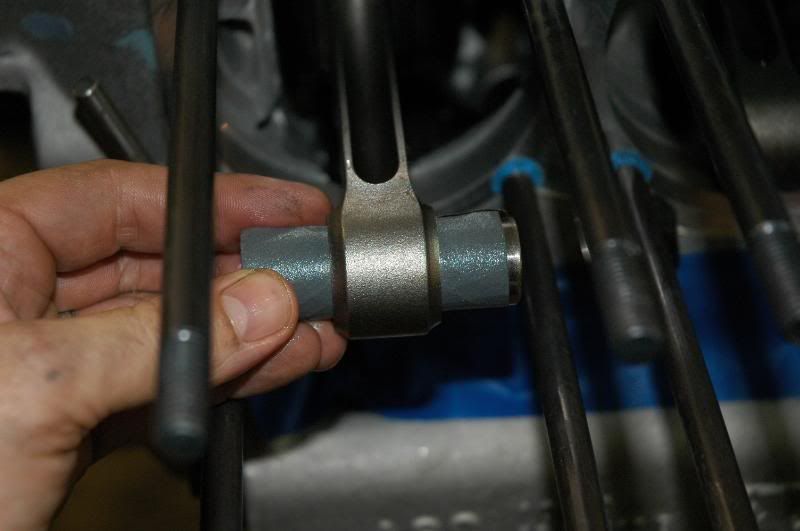
perfect fit!
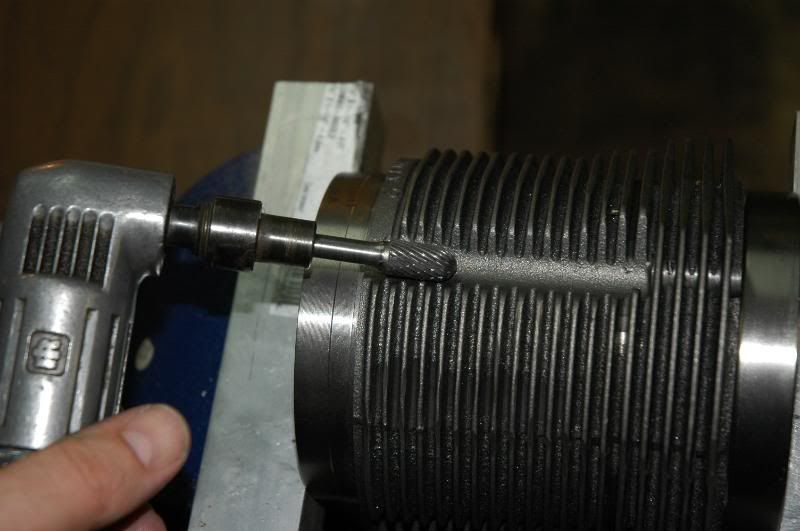
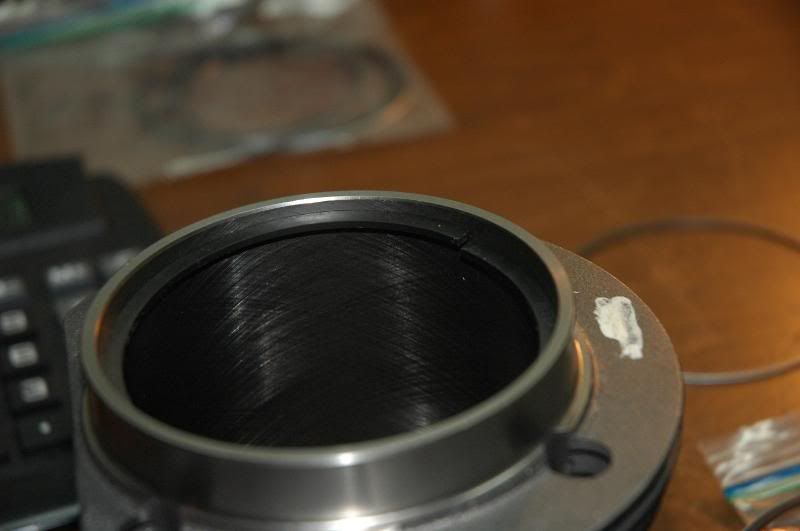
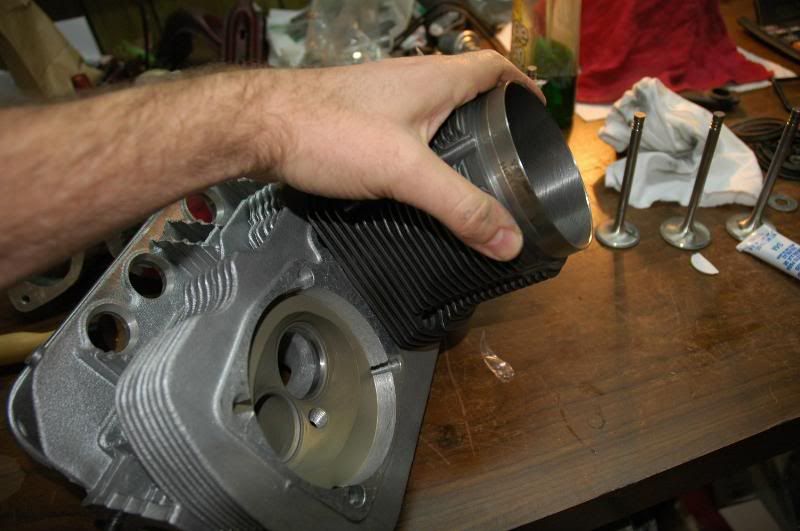
If you're running 10mm head studs with 94's, you might have to clearance the cylinders a little so they clear the studs. The studs should not be touching the sides of the cylinders...
I use a cutter like this with a die grinder
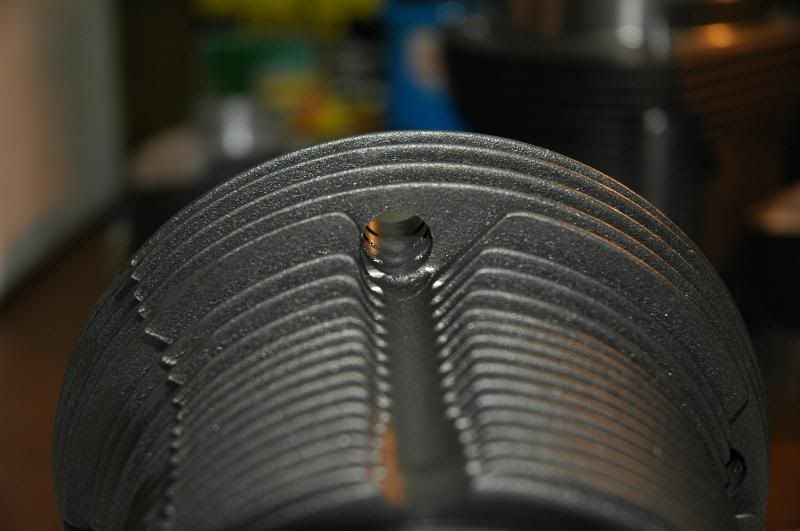
you can see where I removed material near the base...
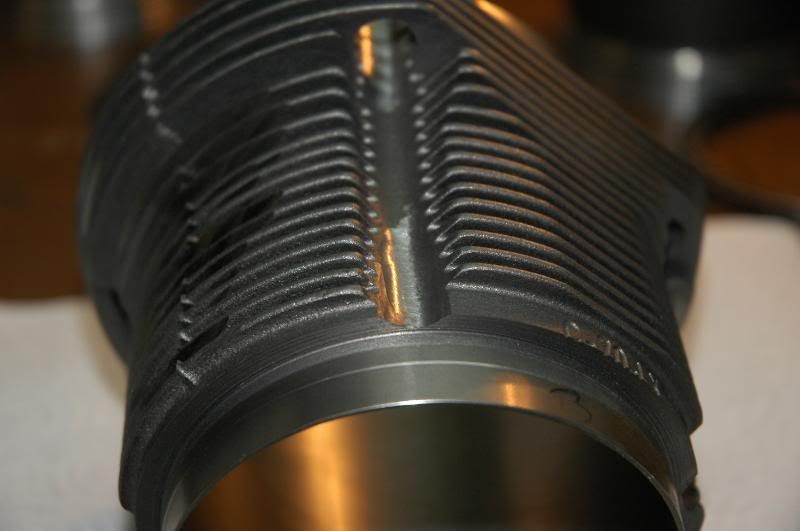
and the top of the cylinders
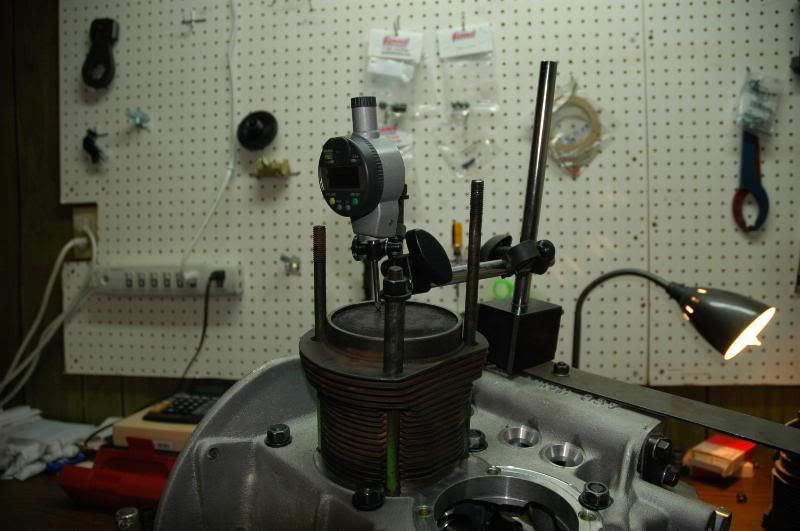
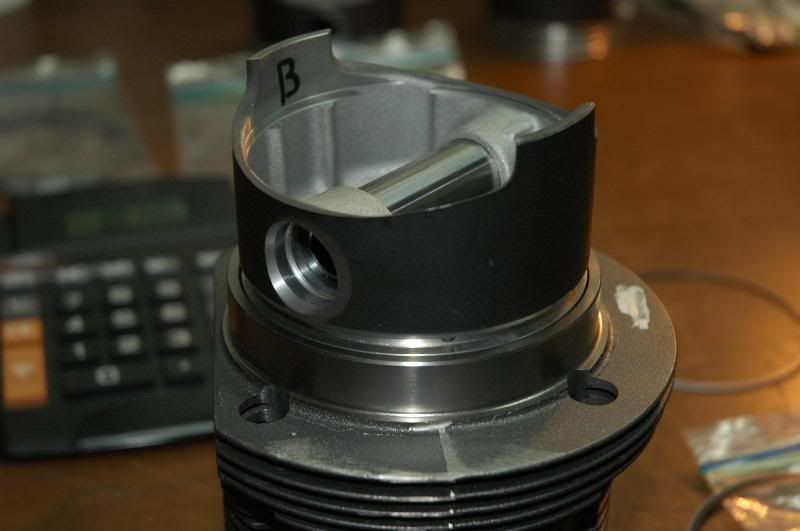
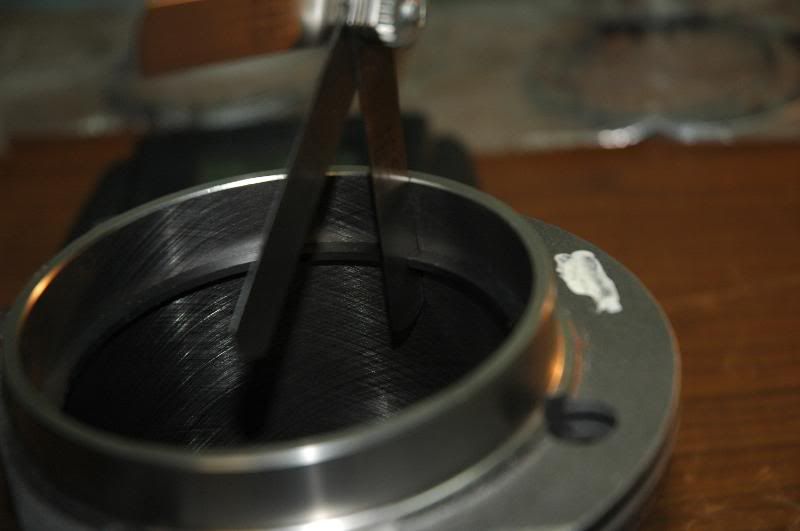
Since we're working on the pistons and cylinders now, might as well set ring gaps. put each ring down in it's cylinder and square it up with a piston as shown below. then take a feeler gauge and measure the gap. for a naturally aspirated motor the standard ring clearance is .004" per 1 inch of bore, so for a 94 mm piston that comes out to about .0015". For turbo/super charged it's .005"/inch and for nitrous motors its about .006"/inch. If the gaps are too small you need to *carefully* file the ends of the rings to open them up. they should usually be about right out of the box though. but I don't trust anything...
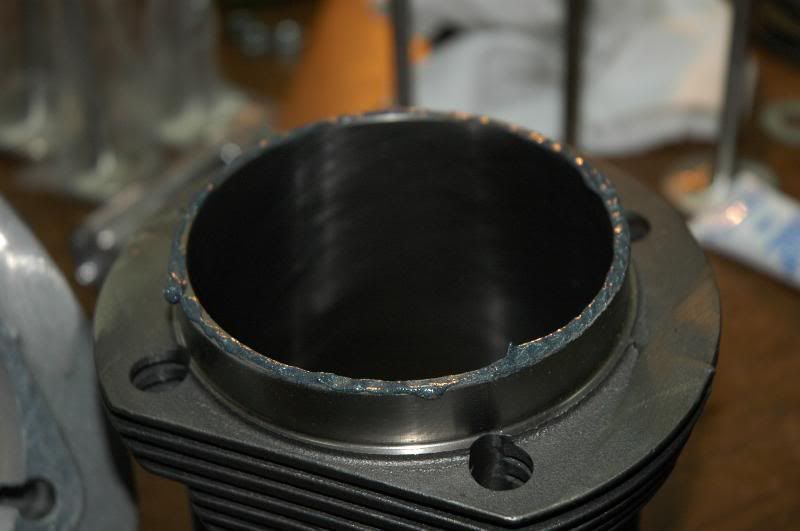
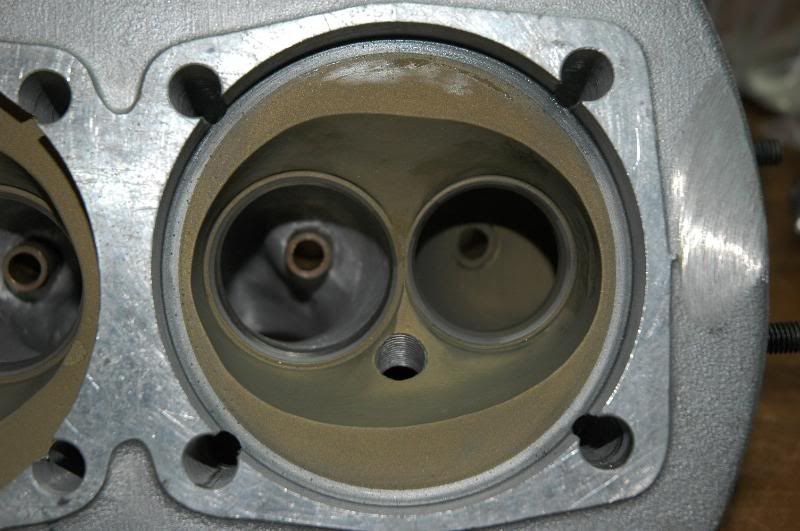
You can also lap your cylinders into your heads if you want. Use valve lapping compound on the cylinder and rotate the cylinders back and forth in the head until you see a smooth surface. You don't have to do this, but I needed to since my chambers were ceramic coated and I wanted metal-on-metal for the sealing surface. even under normal circumstance it can't hurt!
At this point you are pretty much done messing with the cylinders. Clean them off and mask off everything but the finned area and put a *light* coat of high-heat black paint on them. This will serve two purposes: the black color radiates heat better, and the paint will prevent rust scales from forming, which can lead to poor heat transfer. Next scrub the insides of the cylinders out with a Barillo pad and Comet detergent. Yes, Comet detergent. dry them off thoroughly and put a little light oil on the insides to keep them from rusting.
Next up is setting up the valve terrain...