Not much of an update from the past two weeks, but here goes.
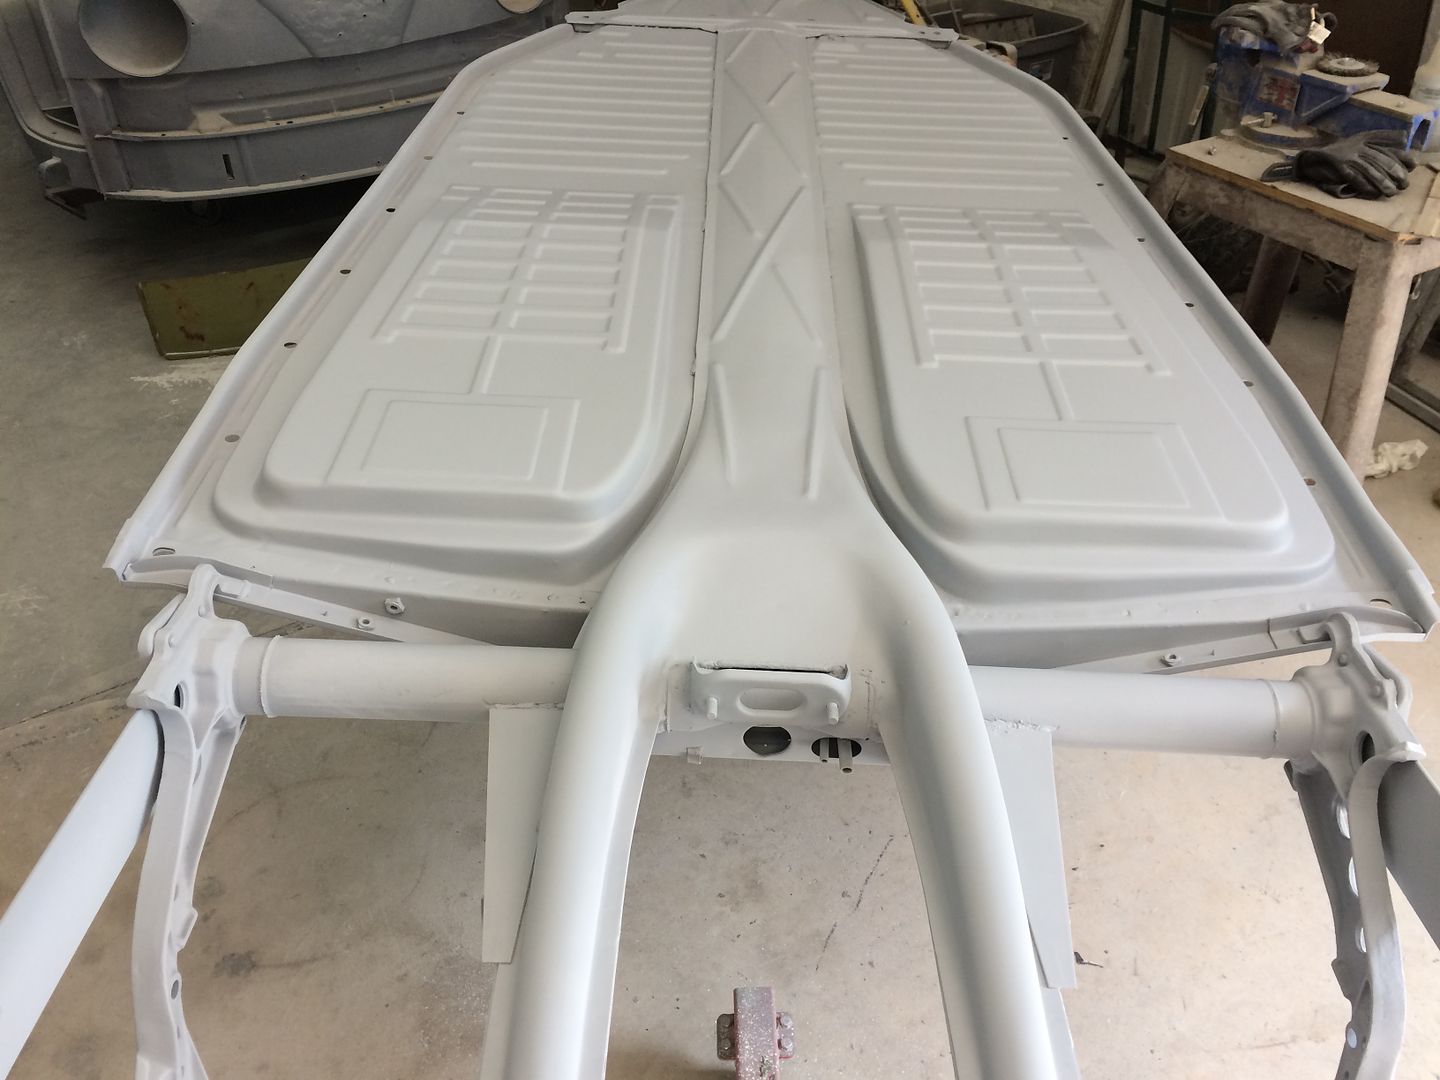
Still working on the tank and the pan. I am pretty much at a stand still parts wise, between the tranny for the wife's truck and then I had to buy 6 new tires for my F350 I am pretty much tapped out on extra funds. Not to mention the holidays are upon us and that means I am going into my slow season. So when Jeremy asked me why I was blocking my pan and fixing the little things no one will ever see, I merely stated... why not I have nothing else to really work on until I get a little extra funds to spend on brakes, spring plates ect. So I should have a really bitching pan in the weeks to come. I didn't take many photos due to the fact that there is not much to see, but here are a few:
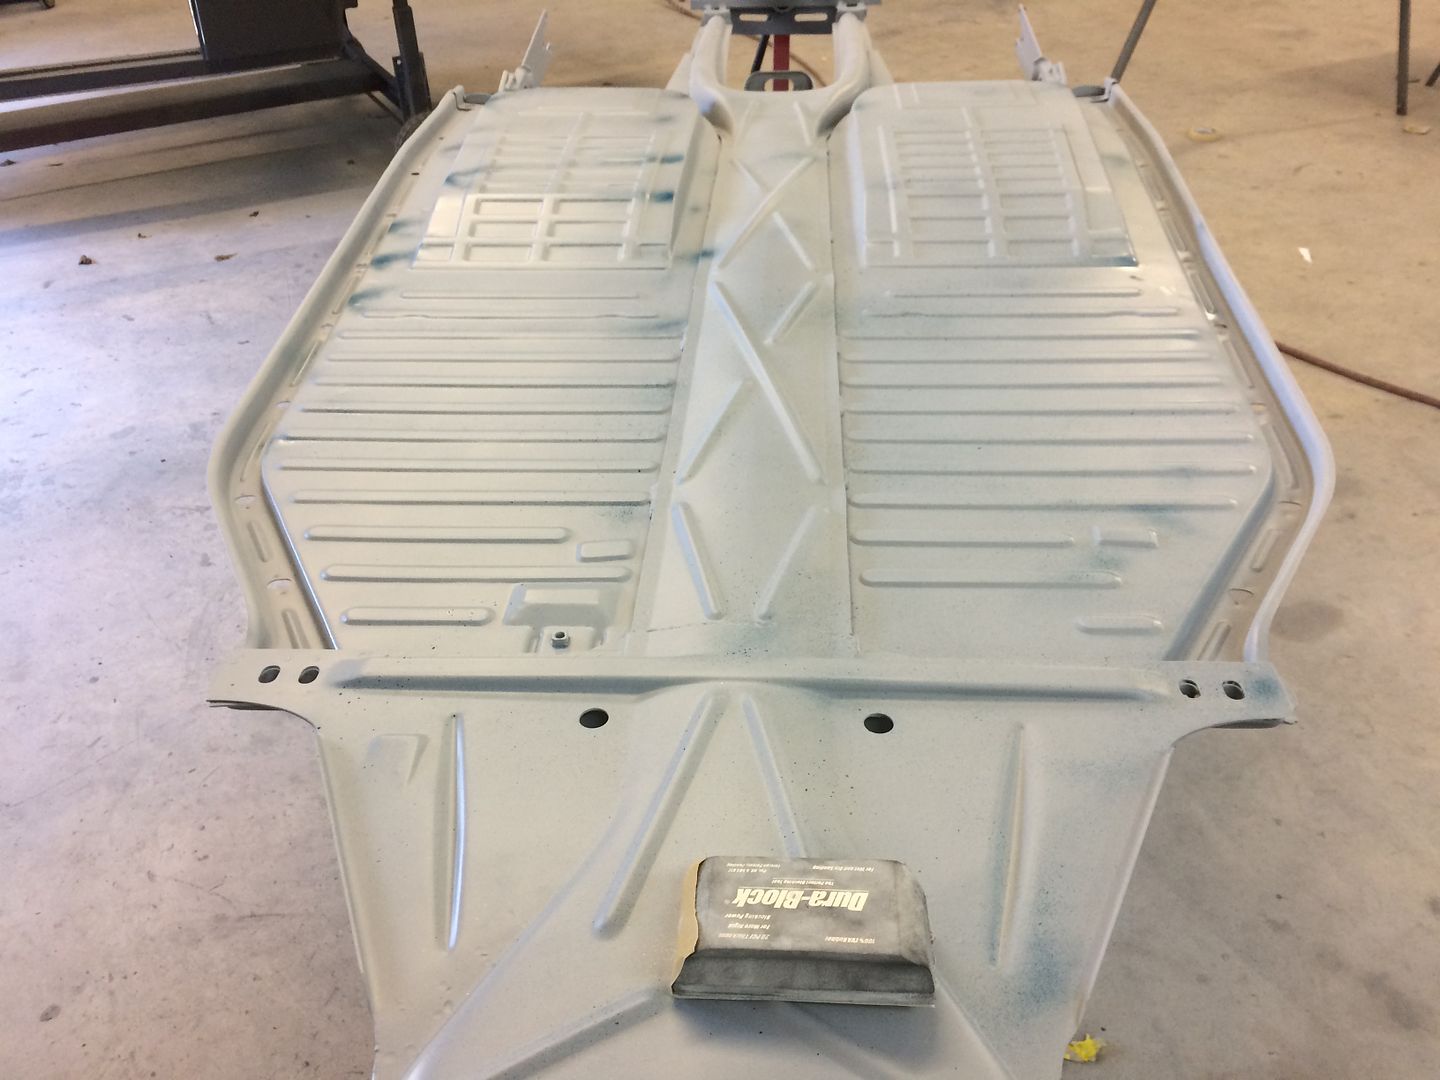
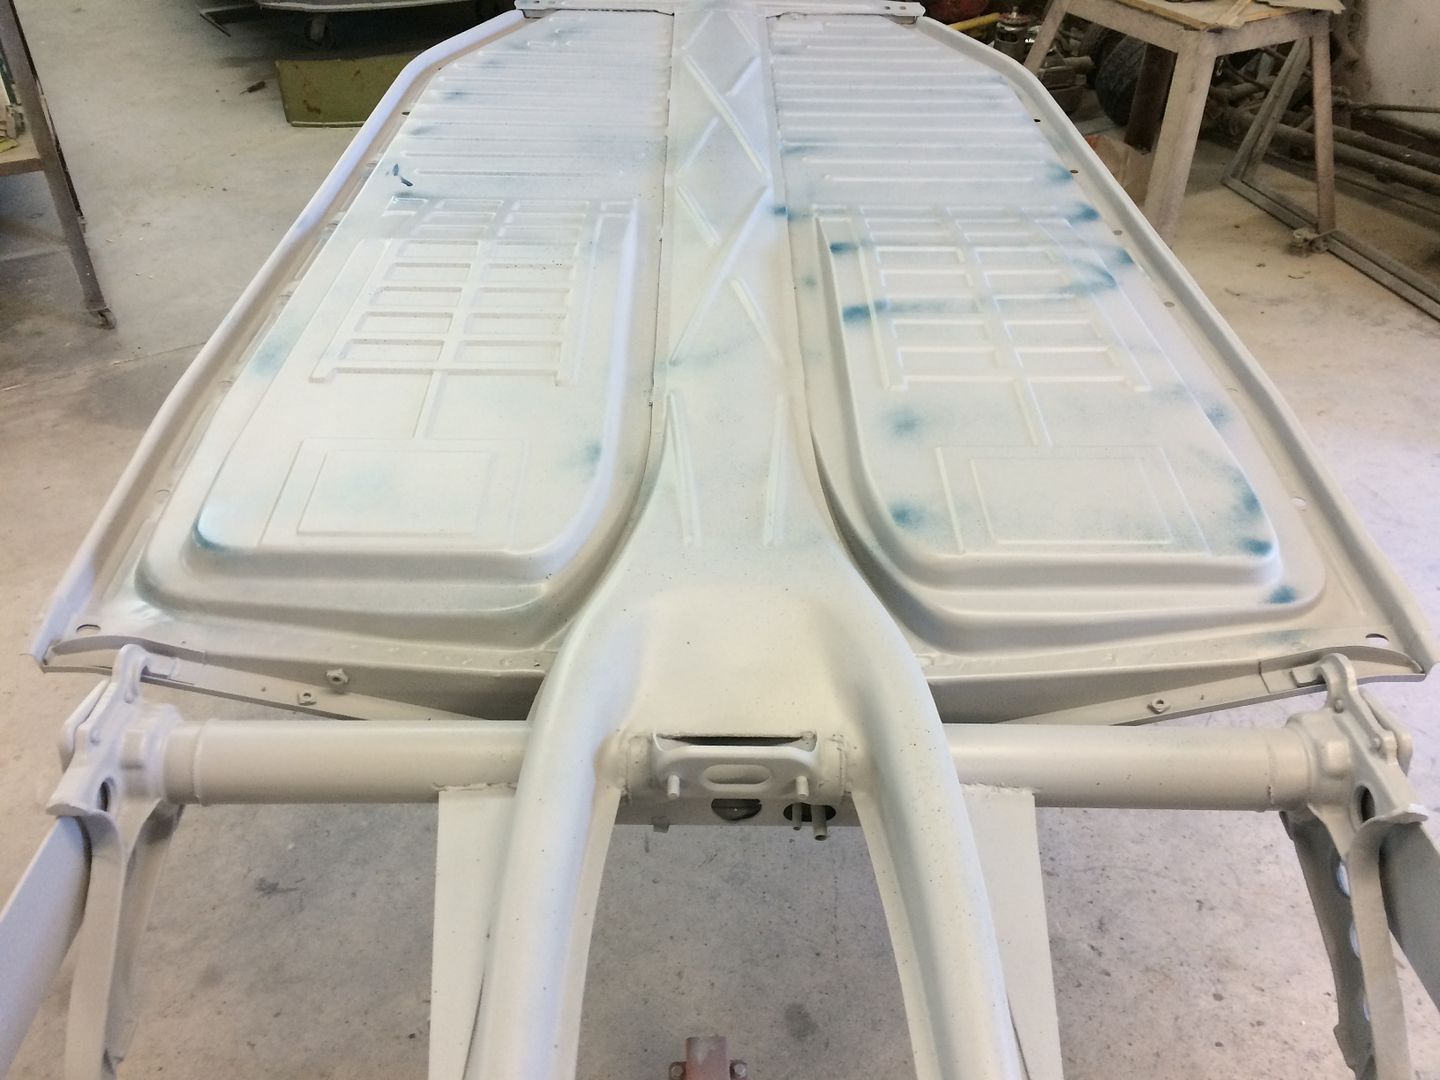
I fixed a few dents on the frame horns probably made by a jack, also on the pans on both sides there where dents from spot welding the seat tracks on. Im sure you cant tell much in the pictures. Then it got a final coat of primer.
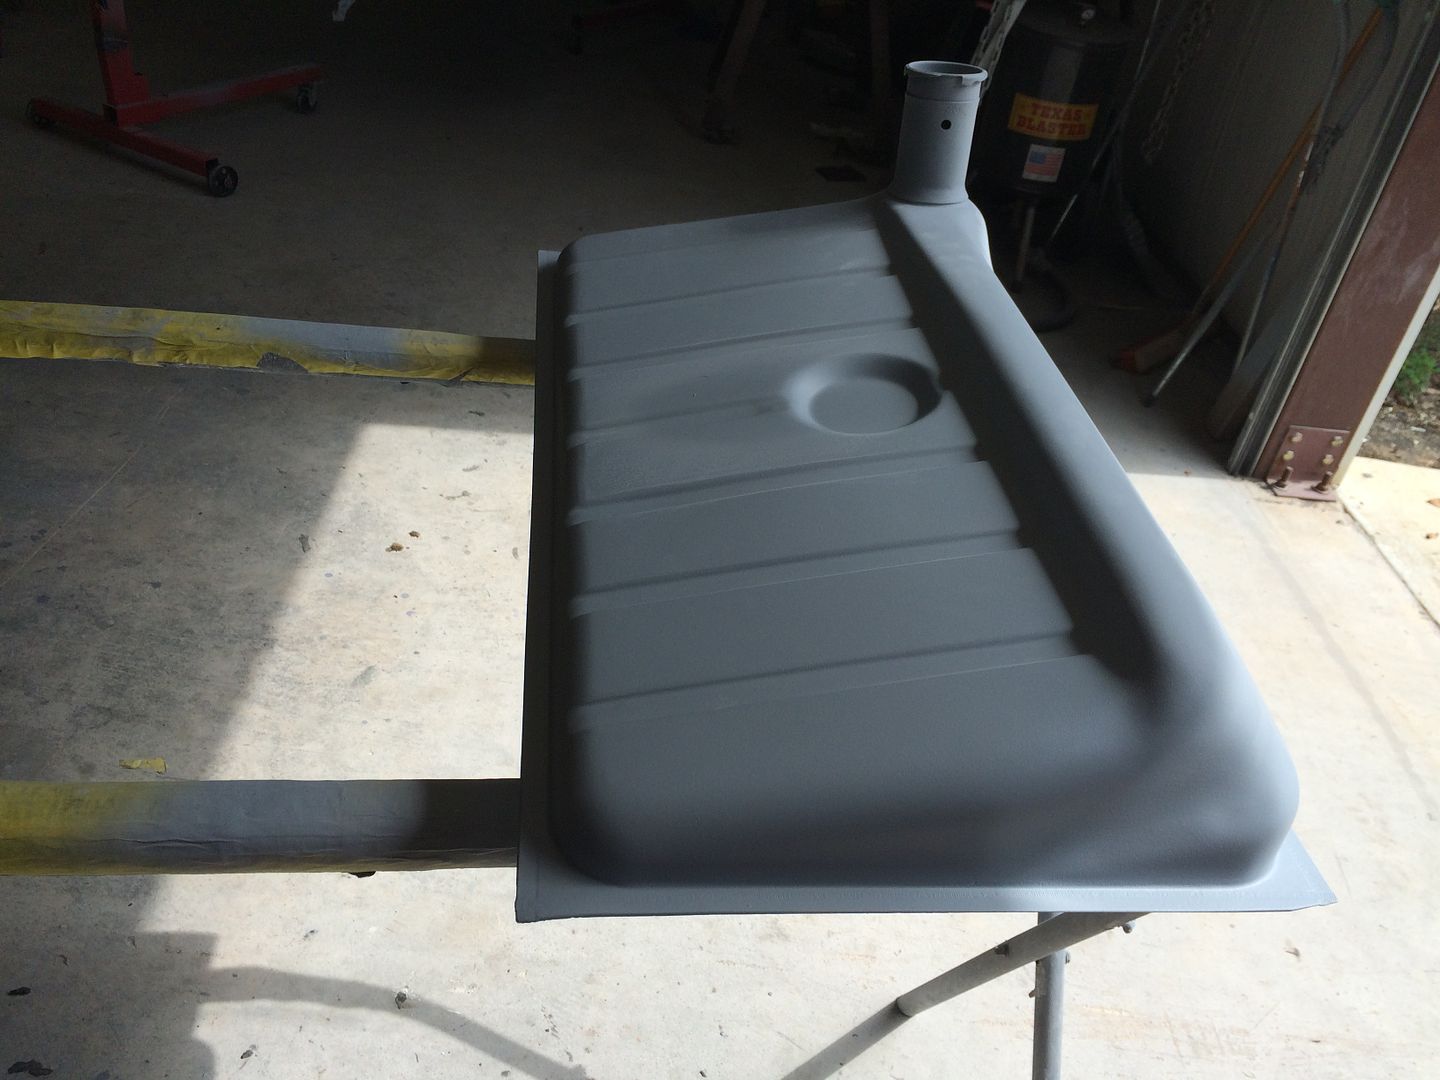
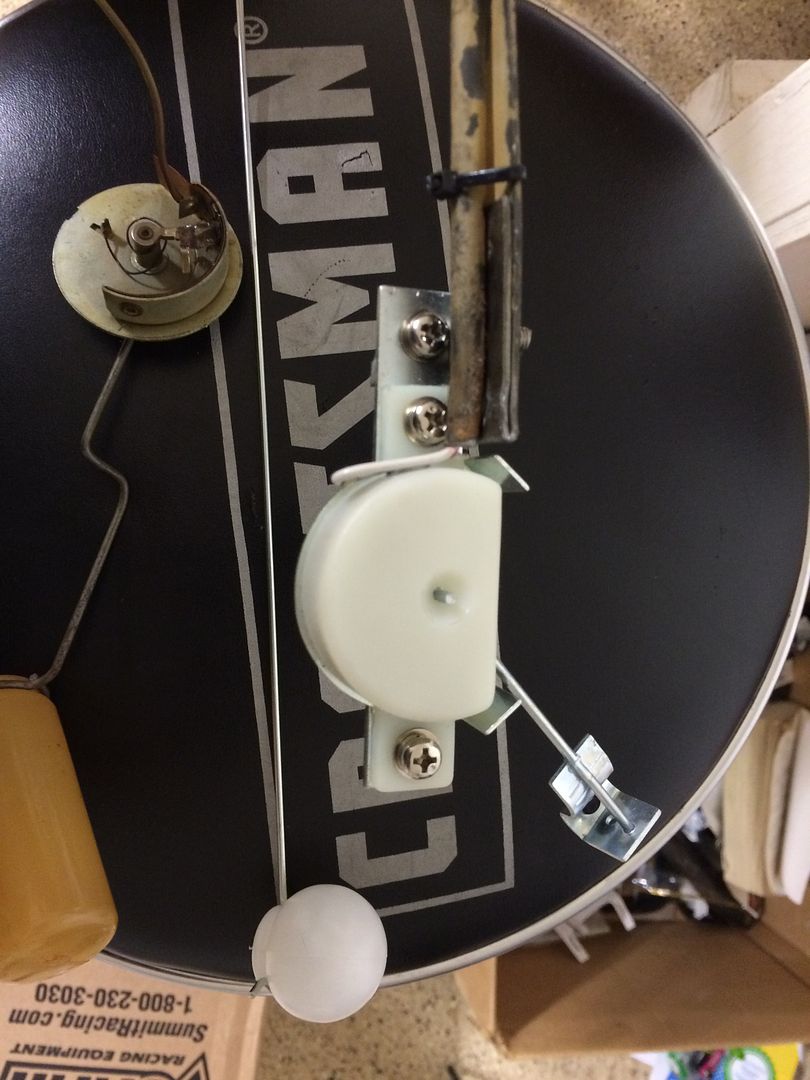
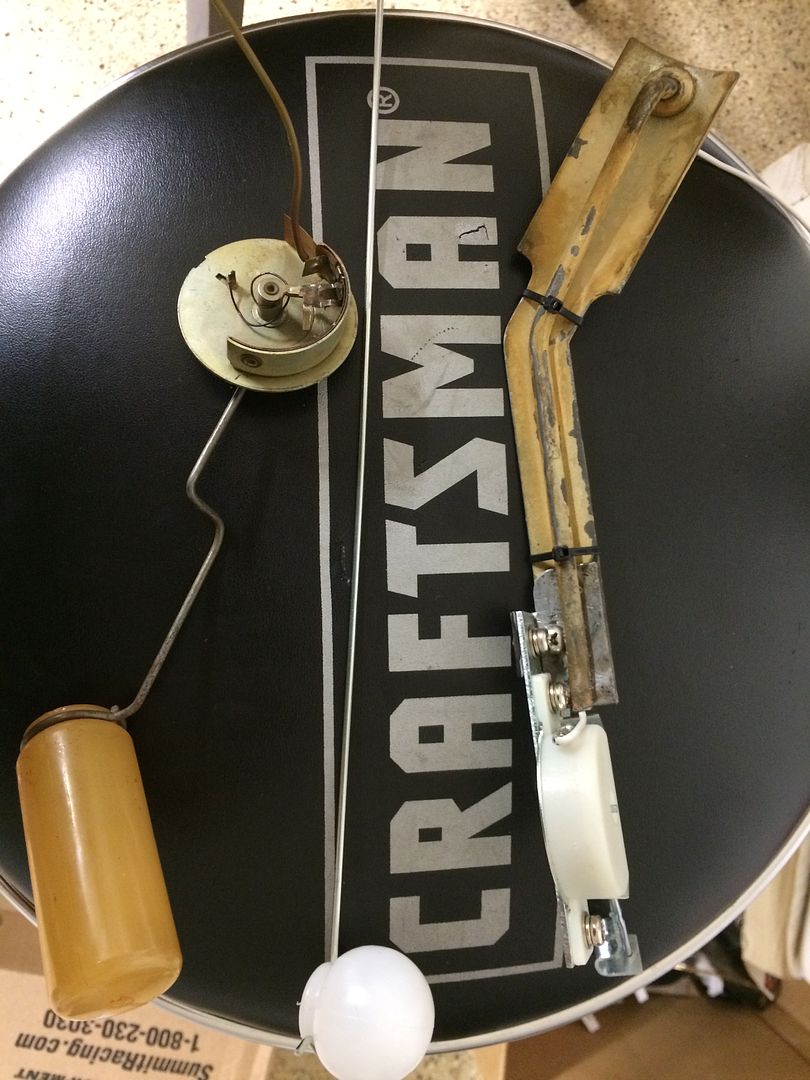
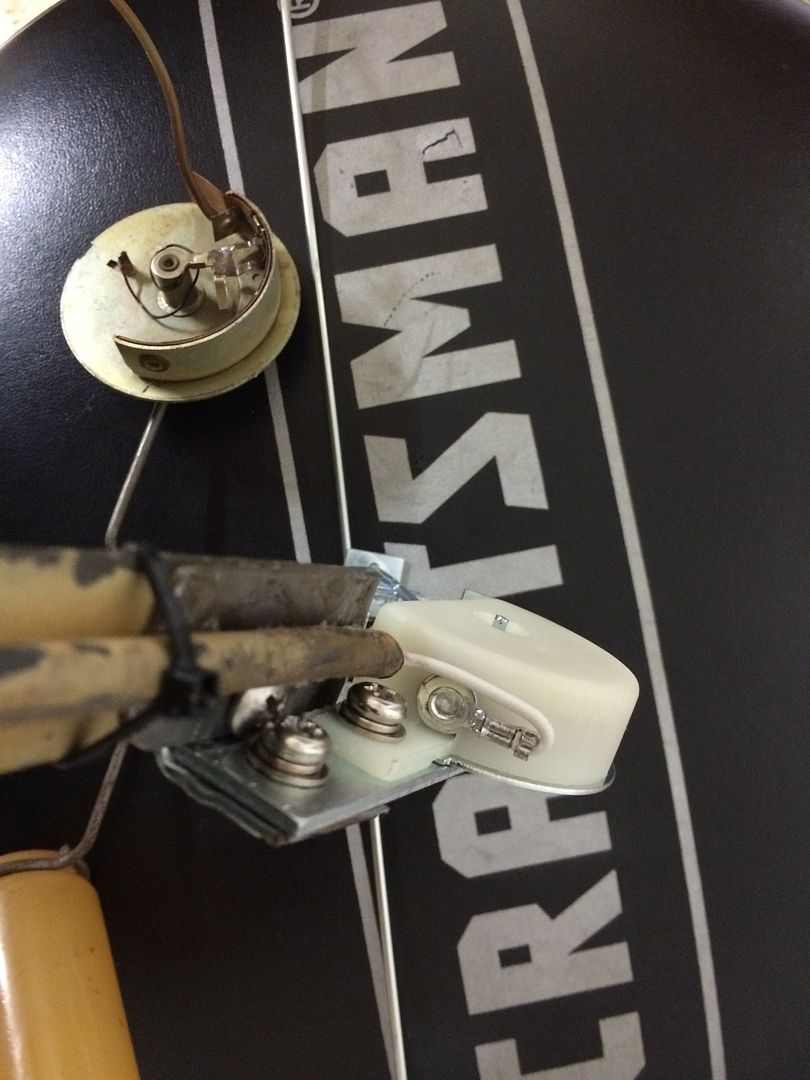
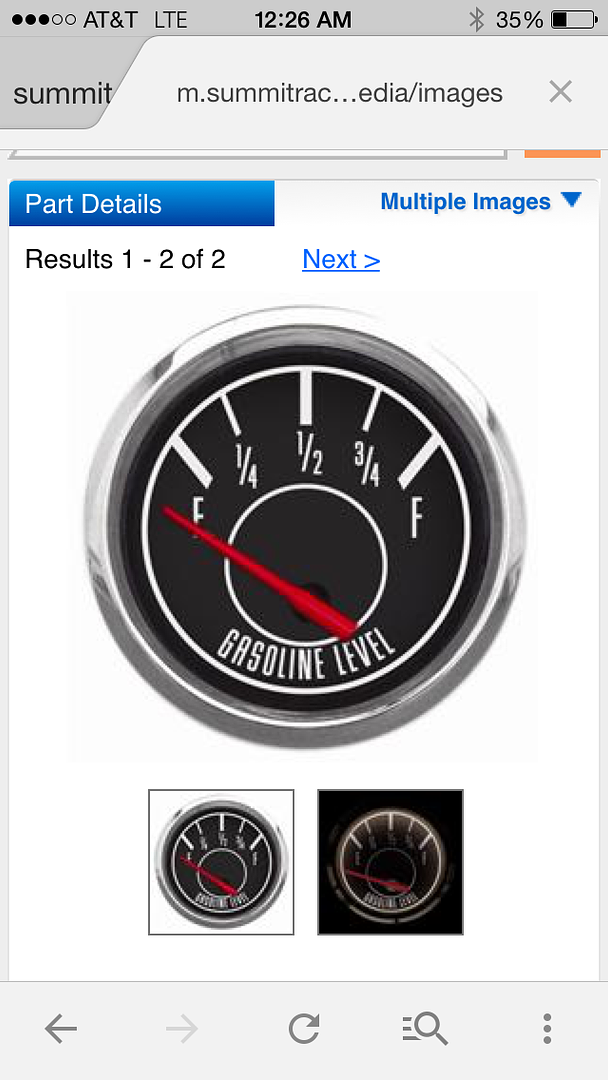
A little side project I have been working on was to repair the sending unit that was in the tank. After a lot of studying online I figured out how to test the unit, found it not to be working. That was a bummer so then I dug a little further and learned how these things work, I was able to open it up and found that it was indeed worn out. That still did not stop me, after a few hours of tinkering with it I managed to get it to function properly. Now the down fall. Through my research I found that you have to match the gauge to the ohm range that the sending unit puts out. Well no dice there.Once again I did not let that stop me, I began researching gauges and sending units. I had already decided that I wanted to run the gauges like Kewsi used in his oval. Mainly because they have a more vintage look to them, the only thing I do not like about them is the red pointer, I am hoping I can get the bezel off to do a color change. That gauge runs in the 0-90 ohm range. So I then found a sending unit that operates in that range and fitted it to the bracket that goes into the tank. All that is left to do is to shorten the plunger. I figured I would wait for that once I install the tank, so that I do not cut it too short. Here is what I ended up with.
and this is the gauge I have coming. I plan on using the fast fab gauge plate that fits into the stock radio hole.
Gonna be pretty cool to have a fuel gauge in the 61 and not have to switch to a later tank. Speaking of the tank I did get it into final primer as well. I am pretty happy with it. It has eaten so much of my time but end the end it is worth it and I had fun.