It is currently Sun Sep 21, 2025 11:20 pm

All times are UTC - 6 hours


Post new topic Reply to topic  [ 619 posts ]  Go to page Previous  1 ... 33, 34, 35, 36, 37, 38, 39 ... 62  Next
Author Message
 Post subject: Re: Ethan's 1961 Build Thread
PostPosted: Tue Oct 07, 2014 4:07 pm 
Offline
User avatar

Joined: Fri May 15, 2009 7:34 pm
Posts: 5465
Location: Dallas, TX
Looks nice!

_________________
Image

"If it ain't Rubbin, it ain't Dubbin"


Top
 Profile  
 
 Post subject: Re: Ethan's 1961 Build Thread
PostPosted: Thu Oct 09, 2014 12:23 am 
Offline
dLk Redneck
User avatar

Joined: Tue Jan 22, 2008 5:58 pm
Posts: 10199
Location: Spring
oval1 wrote:
Looks nice!


Thanks. updates are going to be slow for a few weeks maybe more, I am out of funds right now.

_________________
Ethan Dunlap
Spring, Texas


Top
 Profile  
 
 Post subject: Re: Ethan's 1961 Build Thread
PostPosted: Thu Oct 16, 2014 12:00 am 
Offline
dLk Redneck
User avatar

Joined: Tue Jan 22, 2008 5:58 pm
Posts: 10199
Location: Spring
Not much of an update from the past two weeks, but here goes.

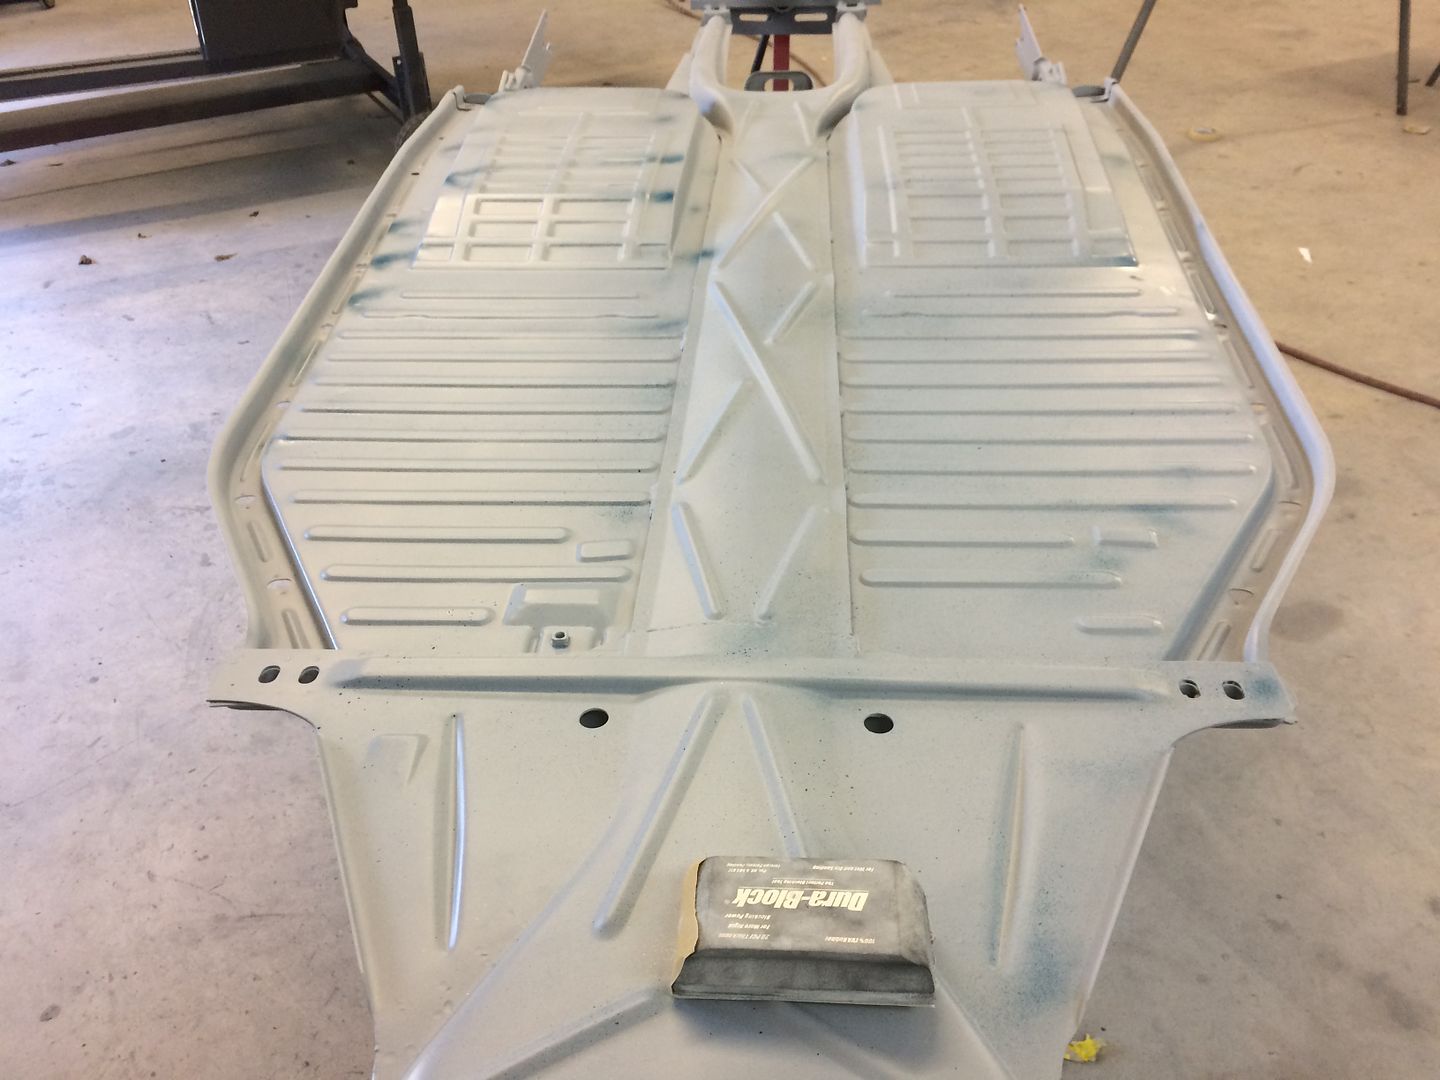
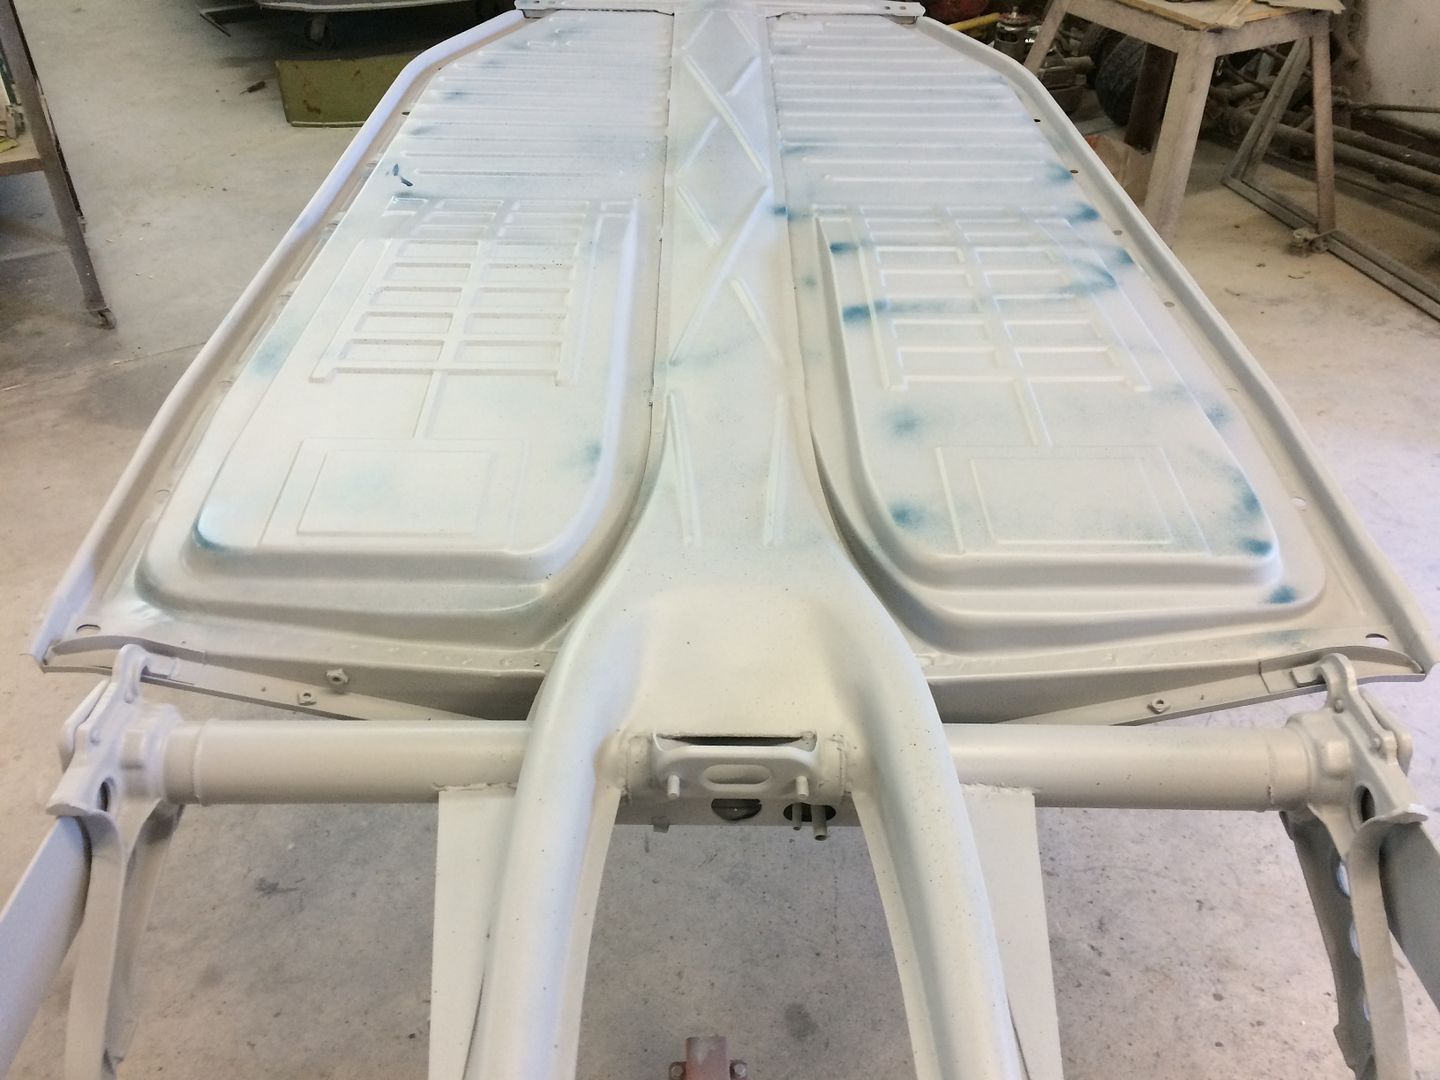
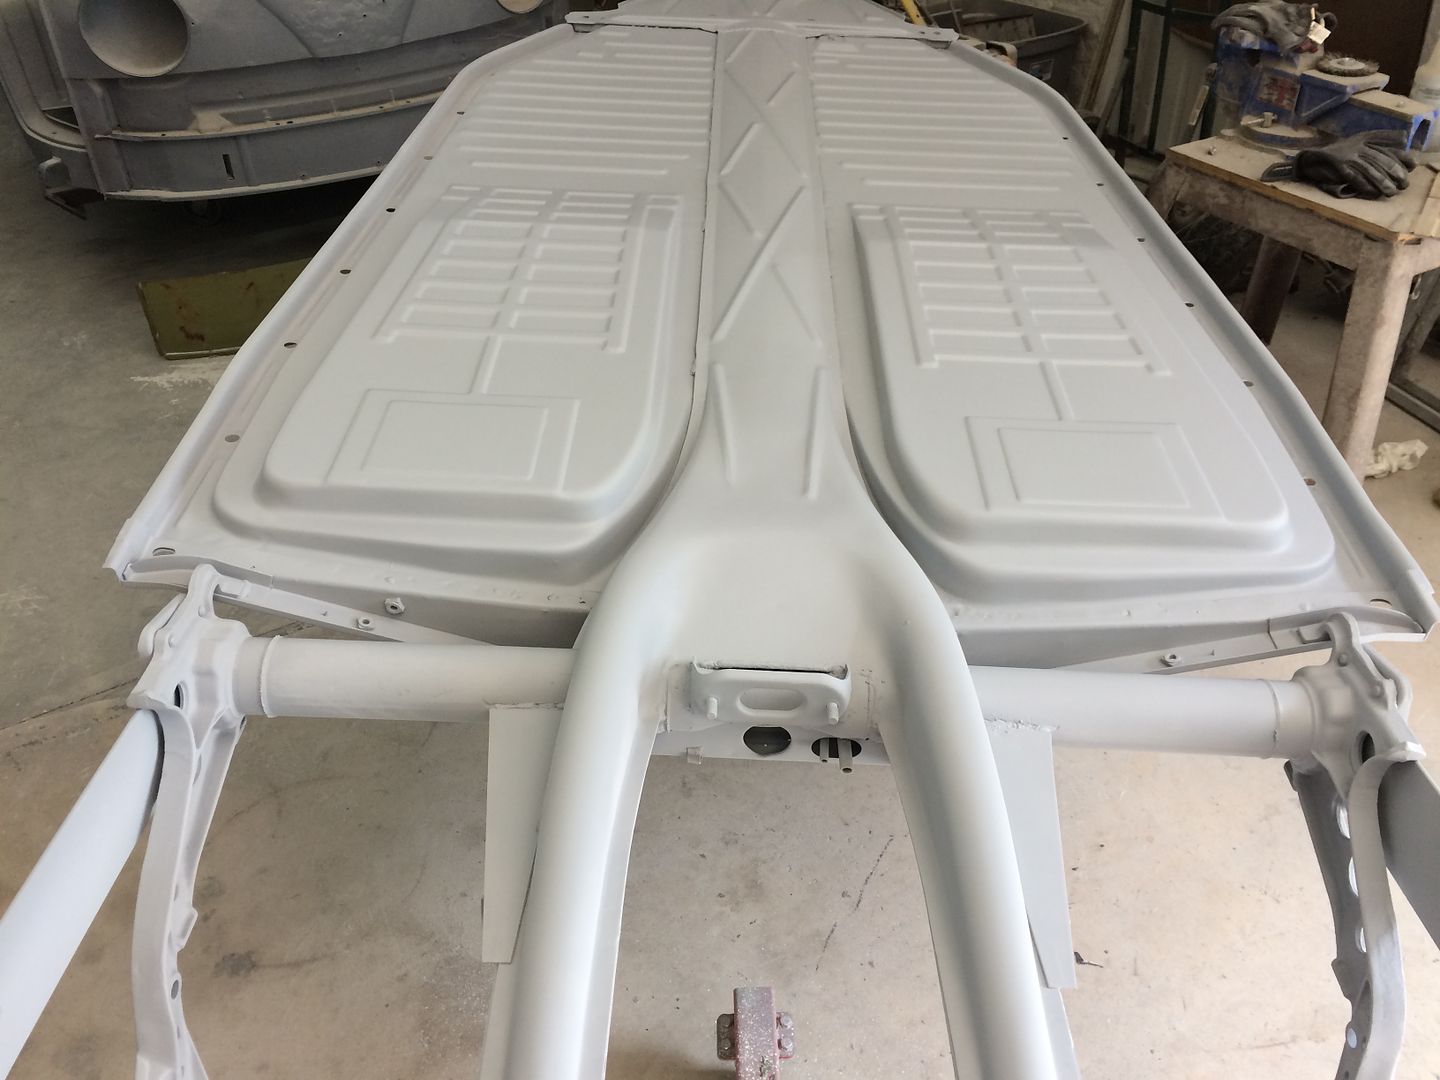
Still working on the tank and the pan. I am pretty much at a stand still parts wise, between the tranny for the wife's truck and then I had to buy 6 new tires for my F350 I am pretty much tapped out on extra funds. Not to mention the holidays are upon us and that means I am going into my slow season. So when Jeremy asked me why I was blocking my pan and fixing the little things no one will ever see, I merely stated... why not I have nothing else to really work on until I get a little extra funds to spend on brakes, spring plates ect. So I should have a really bitching pan in the weeks to come. I didn't take many photos due to the fact that there is not much to see, but here are a few:
Image
Image


I fixed a few dents on the frame horns probably made by a jack, also on the pans on both sides there where dents from spot welding the seat tracks on. Im sure you cant tell much in the pictures. Then it got a final coat of primer.
Image


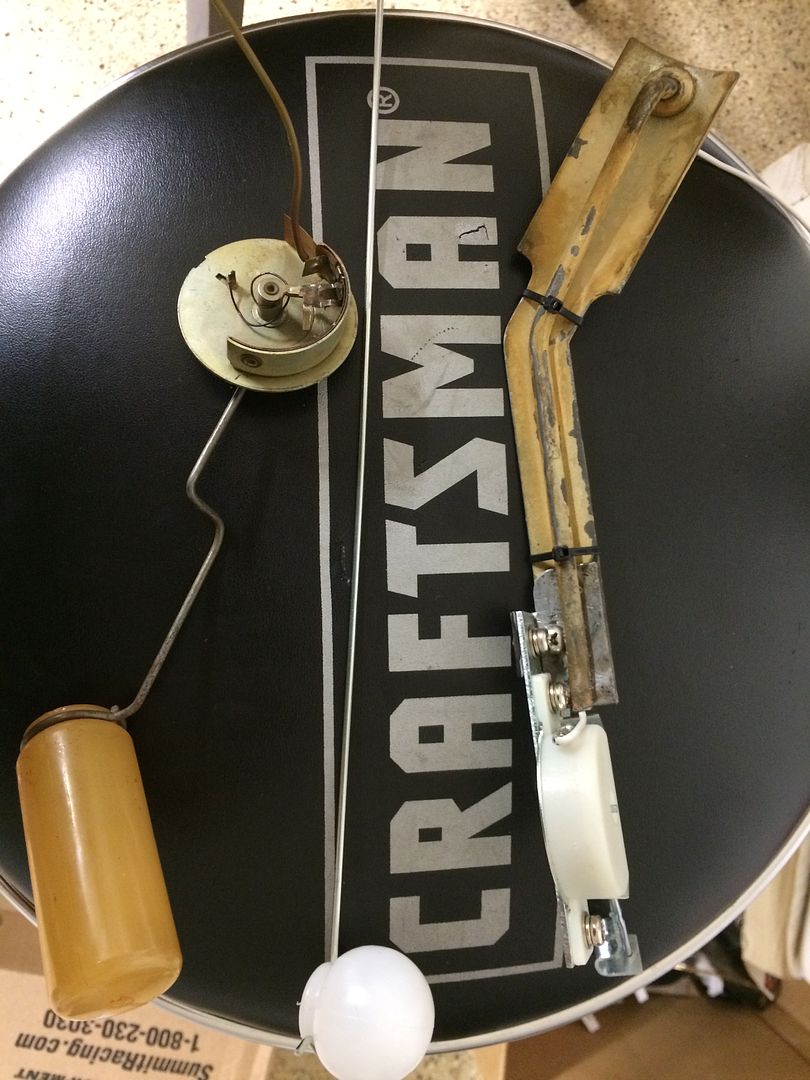
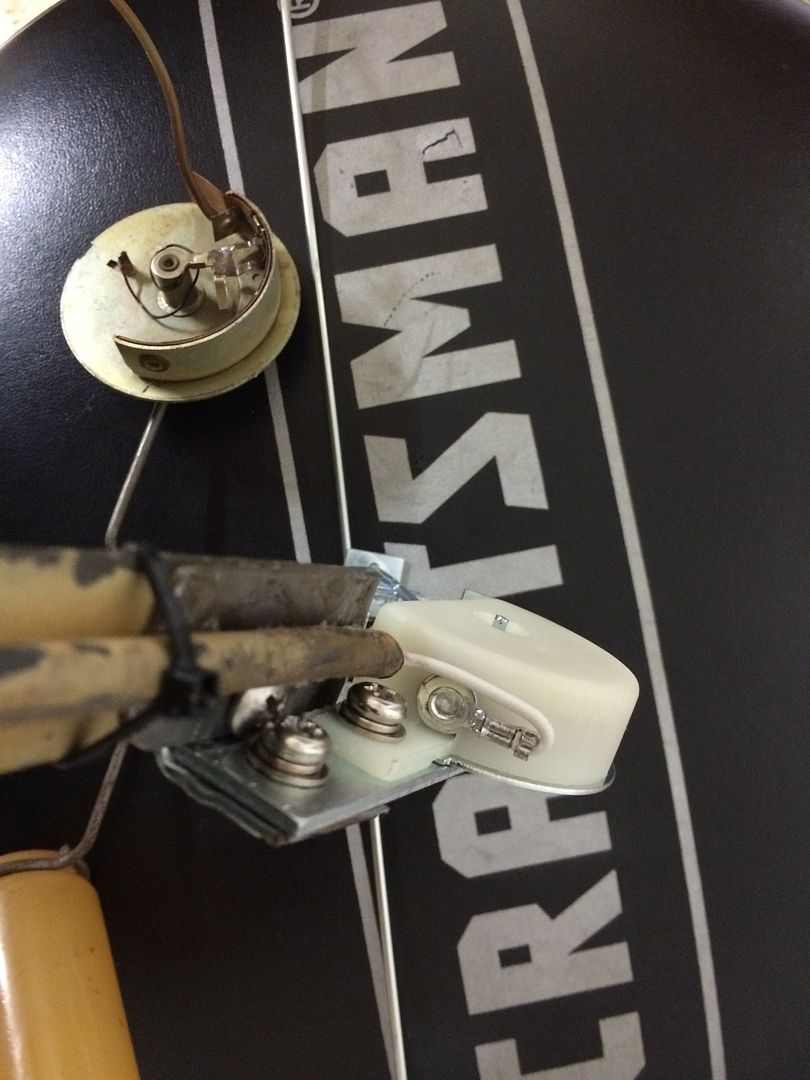
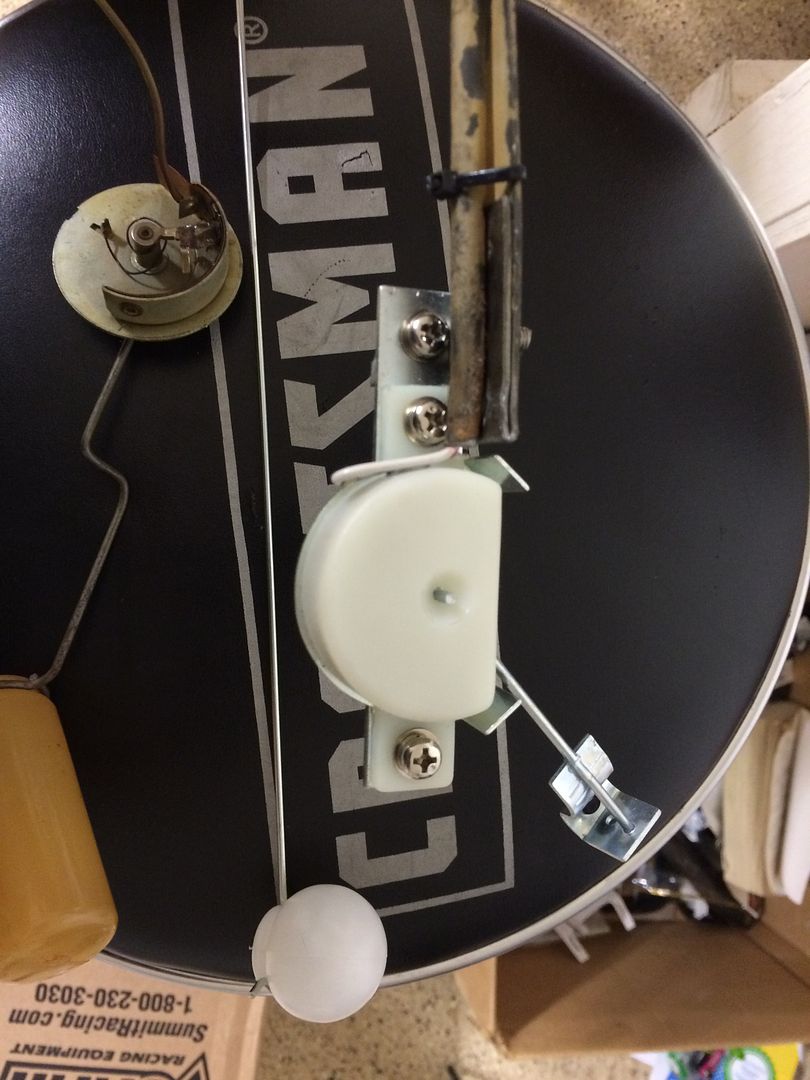
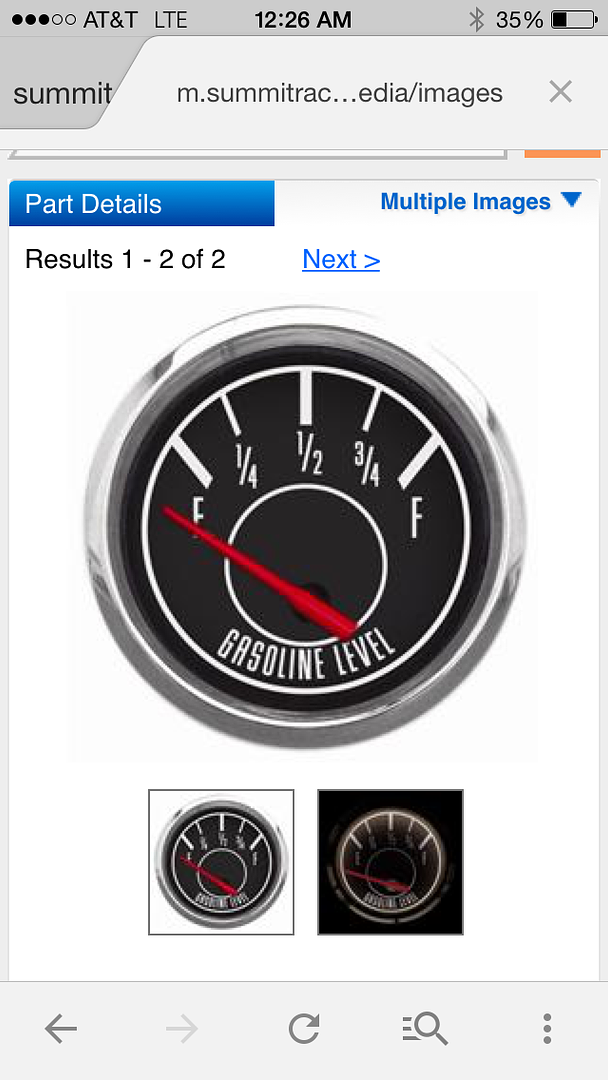
A little side project I have been working on was to repair the sending unit that was in the tank. After a lot of studying online I figured out how to test the unit, found it not to be working. That was a bummer so then I dug a little further and learned how these things work, I was able to open it up and found that it was indeed worn out. That still did not stop me, after a few hours of tinkering with it I managed to get it to function properly. Now the down fall. Through my research I found that you have to match the gauge to the ohm range that the sending unit puts out. Well no dice there.Once again I did not let that stop me, I began researching gauges and sending units. I had already decided that I wanted to run the gauges like Kewsi used in his oval. Mainly because they have a more vintage look to them, the only thing I do not like about them is the red pointer, I am hoping I can get the bezel off to do a color change. That gauge runs in the 0-90 ohm range. So I then found a sending unit that operates in that range and fitted it to the bracket that goes into the tank. All that is left to do is to shorten the plunger. I figured I would wait for that once I install the tank, so that I do not cut it too short. Here is what I ended up with.
Image
Image
Image


and this is the gauge I have coming. I plan on using the fast fab gauge plate that fits into the stock radio hole.
Image

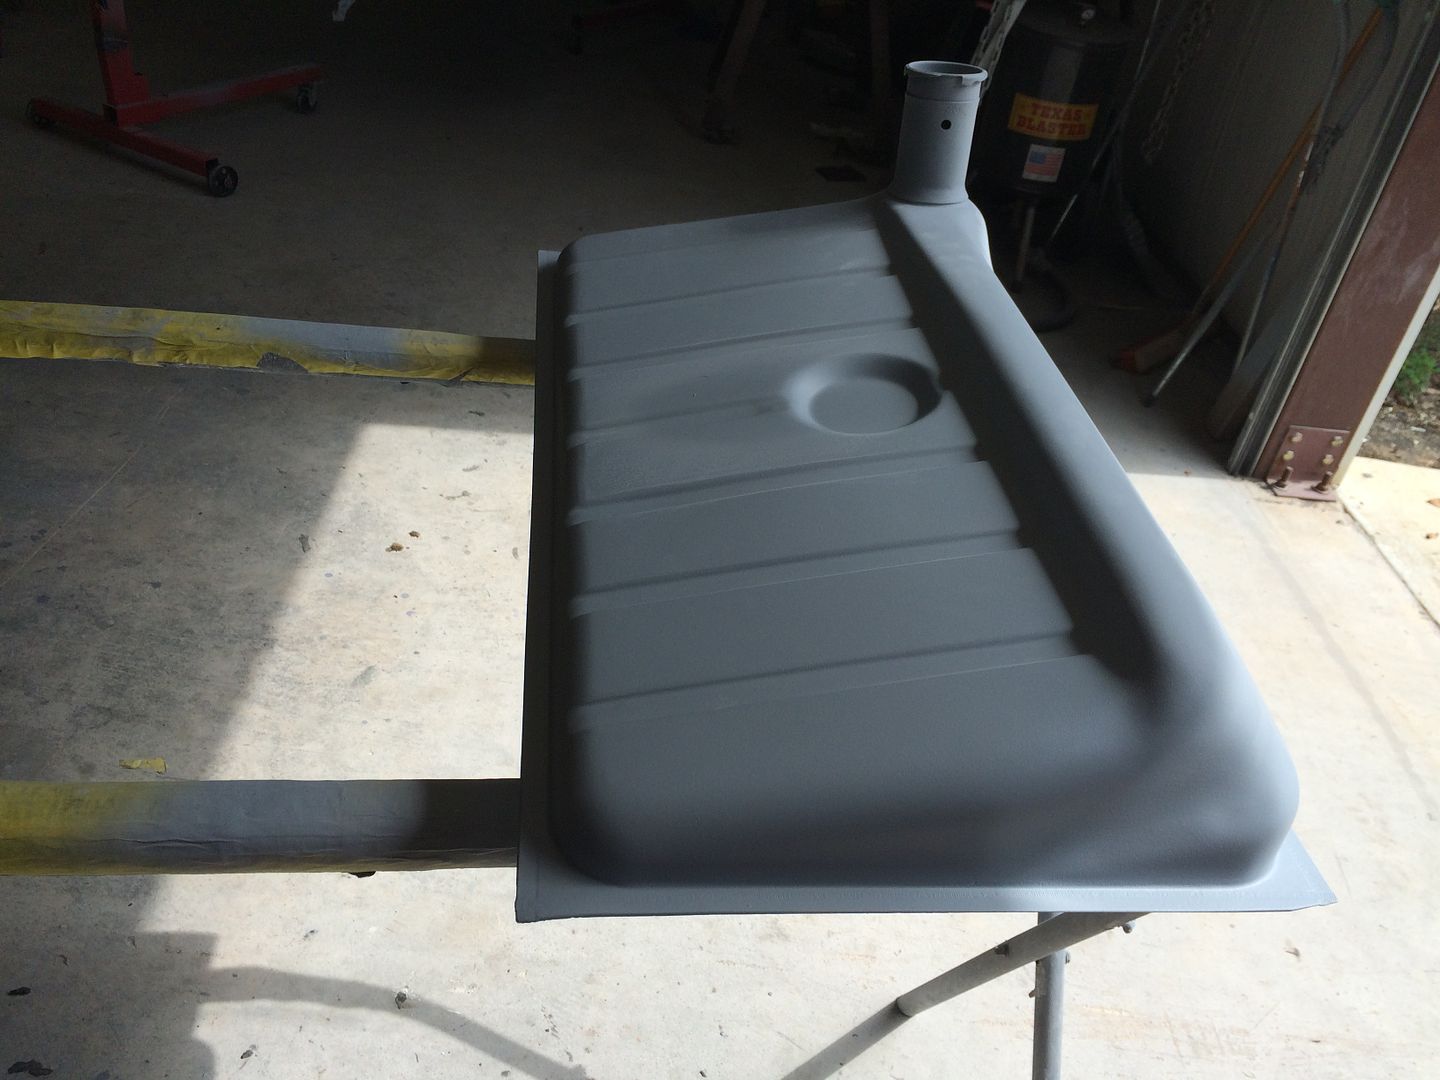
Gonna be pretty cool to have a fuel gauge in the 61 and not have to switch to a later tank. Speaking of the tank I did get it into final primer as well. I am pretty happy with it. It has eaten so much of my time but end the end it is worth it and I had fun.
Image

_________________
Ethan Dunlap
Spring, Texas


Top
 Profile  
 
 Post subject: Re: Ethan's 1961 Build Thread
PostPosted: Thu Oct 16, 2014 11:53 am 
Offline
User avatar

Joined: Fri May 23, 2014 9:45 pm
Posts: 44
Location: Mesquite, TX.
Man your car is turning out really nice, jealous 8-). I think both of my 61's have stock type fuel gauge from what I have learned they were a common dealer add-on in 61, so how to find the 1 year only tank? I have not decided if i want to go with reserve yet though - for a daily driver it may turn into too much of a pain.

Would like to talk to you a bit about your car...can I email or ??
Mike


Top
 Profile  
 
 Post subject: Re: Ethan's 1961 Build Thread
PostPosted: Thu Oct 16, 2014 8:03 pm 
Offline
User avatar

Joined: Wed Apr 20, 2011 11:08 am
Posts: 1242
Location: Denton, Texas
Looking bad ass!!!


Top
 Profile  
 
 Post subject: Re: Ethan's 1961 Build Thread
PostPosted: Sun Oct 26, 2014 4:19 pm 
Offline
dLk Redneck
User avatar

Joined: Tue Jan 22, 2008 5:58 pm
Posts: 10199
Location: Spring
Started back on the main body wet sanding the clear with 1000, we plan to re-clear it again next week. We also took the time to fix 3 small dings that we found while wet sanding. Two of them I already knew about they showed up after the clear was sprayed the first time. The one on the dash was my fault I welded up the hole for the grab handle but forgot to skim it. The two small dings that where on the body actually blocked out and we didn't have to use any finish filler. Jeremy shot a little primer on those spots and next week we will wet sand them and he will shoot a little color and then on to re-clearing the body.
Image
Image
Image
Image
Image
Image
Image
Image
Image
Image
Image
Image
Image
Image
Image
Image


Had to wash it a few times this is it in the sun drying after wet sanding.


Image


Here you can see the two spots that we fixed they only had to be blocked.

Image
Image
Image

and the third one that was on the dash that I forgot to fill.

Image
Image

Lucky for me we have planned to cut and re-clear since the beginning, so these are easy fixes right now.

Image
Image
Image
Image
Image
Image
Image
Image
Image
Image

_________________
Ethan Dunlap
Spring, Texas


Top
 Profile  
 
 Post subject: Re: Ethan's 1961 Build Thread
PostPosted: Sun Oct 26, 2014 4:38 pm 
Offline
The Ukrainian
User avatar

Joined: Wed Jan 23, 2008 1:28 pm
Posts: 4110
Location: Pearland
Awesome attention to detail! :thumbs:

_________________
SHIFT_ukraine

Image

Image

Opportunity is missed by most people because it is dressed in overalls and looks like work. - Thomas Edison


Top
 Profile  
 
 Post subject: Re: Ethan's 1961 Build Thread
PostPosted: Sun Oct 26, 2014 5:54 pm 
Offline
dLk po-lease
User avatar

Joined: Wed Jan 23, 2008 9:33 pm
Posts: 4871
Location: Spring, Tx.
Going to be nice.


Top
 Profile  
 
 Post subject: Re: Ethan's 1961 Build Thread
PostPosted: Sun Oct 26, 2014 6:13 pm 
Offline
Der Luft Doktor
User avatar

Joined: Tue Jan 22, 2008 3:31 pm
Posts: 7220
Location: OC CA
Looks amazing, its gonna be a show stopper for sure

_________________
-Brian
IG: @mkzero55vw
'55 Outlaw Oval- 231 hp daily driver :shock:
'56 Oval Vert- Okrasa 36 hp
'52 Standard Split Window
1953 Fleetwood Travel Trailer
2010 FJ Cruiser- The Mountain Goat
30 Ford Model A Pickup Hotrod
Conklin Performance & Engineering


Top
 Profile  
 
 Post subject: Re: Ethan's 1961 Build Thread
PostPosted: Sun Oct 26, 2014 7:16 pm 
Offline
User avatar

Joined: Thu Apr 17, 2008 8:02 pm
Posts: 6236
Location: Spring Texas
Looks better in person.

_________________
Thanks
Wayne aka FOG

Image
http://s329.photobucket.com/albums/l384/rcarpen496/?action=view&current=MVI_0122.mp4

69 Beetle sunroof


Top
 Profile  
 
Display posts from previous:  Sort by  
Post new topic Reply to topic  [ 619 posts ]  Go to page Previous  1 ... 33, 34, 35, 36, 37, 38, 39 ... 62  Next

All times are UTC - 6 hours


Who is online

Users browsing this forum: No registered users and 1 guest


You cannot post new topics in this forum
You cannot reply to topics in this forum
You cannot edit your posts in this forum
You cannot delete your posts in this forum
You cannot post attachments in this forum

Search for:
Jump to:  
cron
Powered by phpBB © 2000, 2002, 2005, 2007 phpBB Group